Spot-on quality
Thanks to WERKLICHT, you always have a versatile helper at your side, which is used in many industrial sectors, including especially in mechanical and plant engineering.
WERKLICHT supports a wide variety of industrial fields
- from vision to production
- from quality monitoring to presentation
- and makes work easier
- accelerates processes
- and contributes to reducing your costs
The basic principle always remains the same: WERKLICHT brings your digital component information from the computer into reality.
In production and assembly, WERKLICHT Pro projects CAD data and work instructions onto components and thus becomes the right hand of your production staff.
In quality assurance, WERKLICHT Video brings even the slightest deviations to light with the projection of 3D measurement protocols. This provides you with an authoritative and efficient control and communication tool to optimize quality and quality awareness.
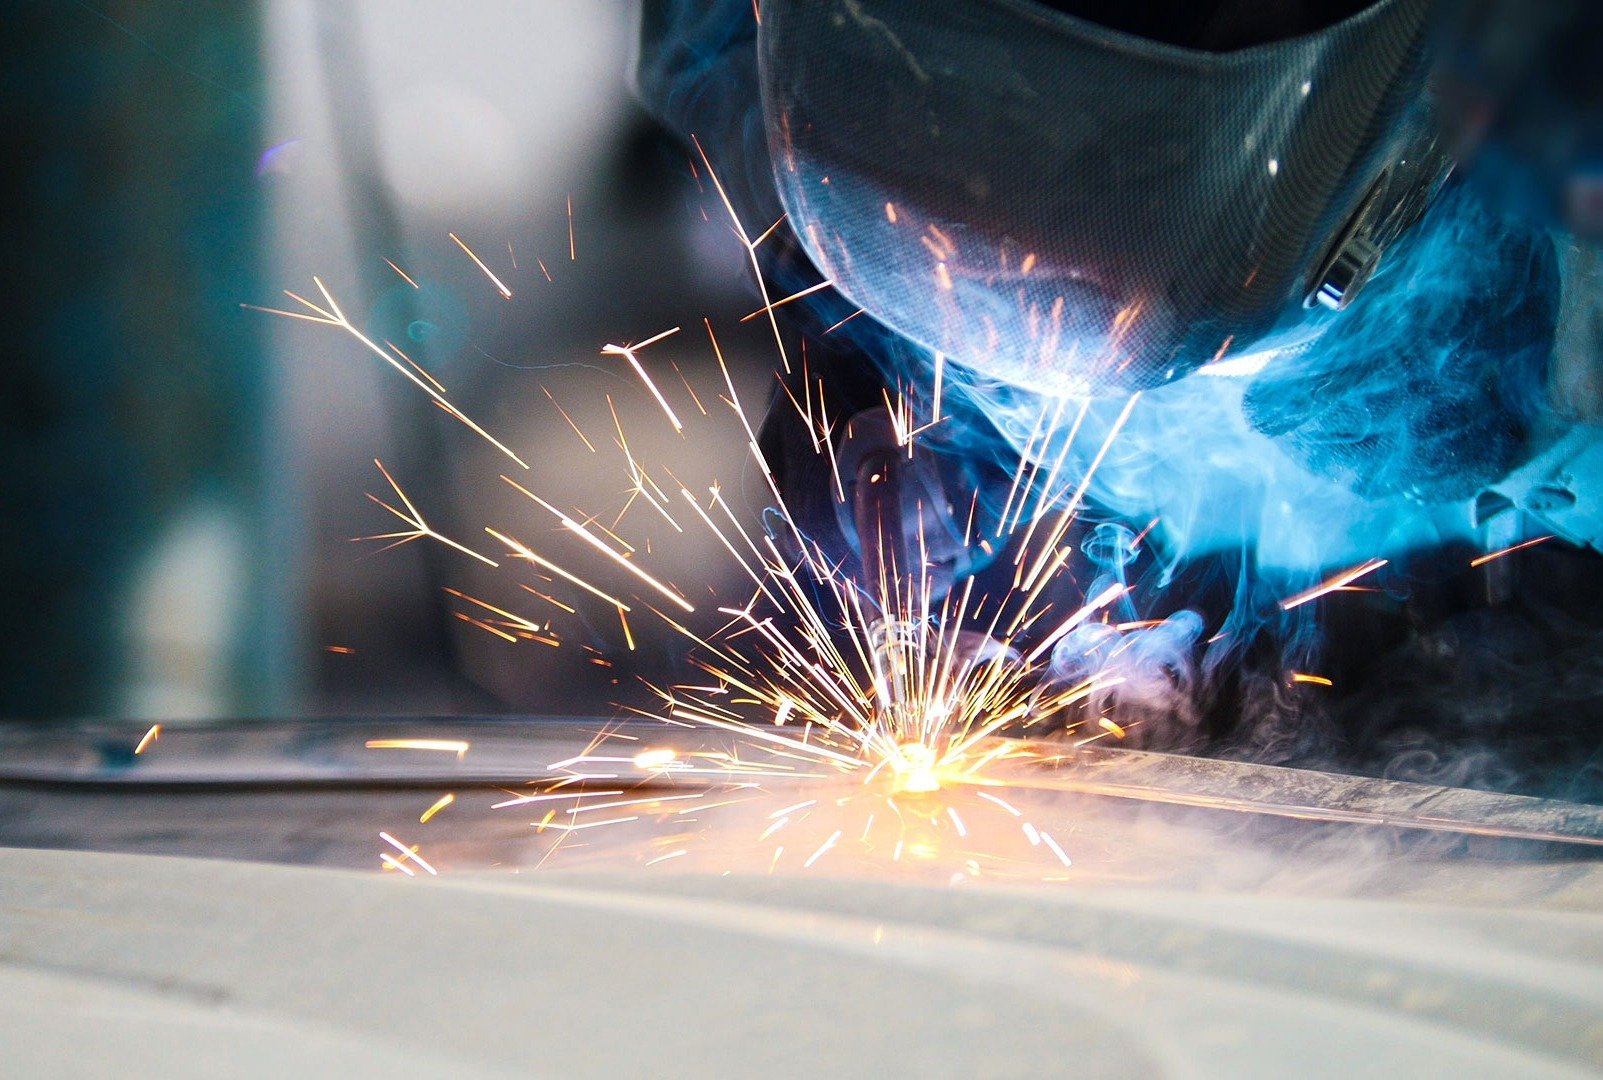
As digital template for tacking of welding parts

The introduction of laser and plasma welding as well as industrial robots has revolutionized welding technology.
However, there is still no decisive further development in the manual positioning of welding components. Welding templates, meter rods and pencils are still used here. However, these manual methods often lead to inaccurate positioning. Even though templates are more accurate, they are expensive to manufacture and stock. They are also cumbersome to use and, most importantly, not very flexible when you have different variations.
WERKLICHT Pro, on the other hand, is very easy to use and extremely flexible, especially when there are a number of variants. With WERKLICHT, all you have to do is project the positions of the welded parts onto the assembly or components, and in the next step, you align the welded parts according to the projected laser line.
Then all you have to do is start tacking or welding. The special benefit for you is that it is no longer necessary to use templates and therefore there are no costs for their production, maintenance and storage.
- Minimal setup time
- Automation through connection to PLC or control technology via network API
- All CAD formats
- Generic import from CSV or similar for integration with third-party systems
- Ready for IOT
- Display of positions, trims, contours directly on the part
- Intuitive operation with remote control or tracked tools
- Positioning/inspection templates become superfluous
- Time savings of up to 75% compared to classic measuring equipment
- High change flexibility
- Productive faster through intuitive visual worker guidance
- Time savings through direct highlighting of elements on the component
- No need for time-consuming localization or counting on the part
- Step-by-step instructions
- Intuitive display of assembly instructions directly on the component
- Intuitive control with remote control or tracked tools
- Automatic documentation of work steps
- PDF report with overview images and detail shots
- Export as CSV, for integration/automation with third-party systems
- Data protection compliant
- Ready for IOT
What are my advantages?
- No more cumbersome handling of heavy and bulky templates
- No more misplaced parts and therefore no more negative feedback
- No more working with paper plans or templates
- Elimination of expenses for production, maintenance and stocking of templates
- Immediate realization of design changes and revisions (5 min)
- Generation of projections smoother than the production of templates
- Determination of the work sequence or steps
- Eliminate stencil manufacturing, maintenance and storage costs
- Immediate implementation of design changes (5 min)
- Flexible use
As digital template for positioning of studs and other attachment parts

What can WERKLICHT Pro do better?
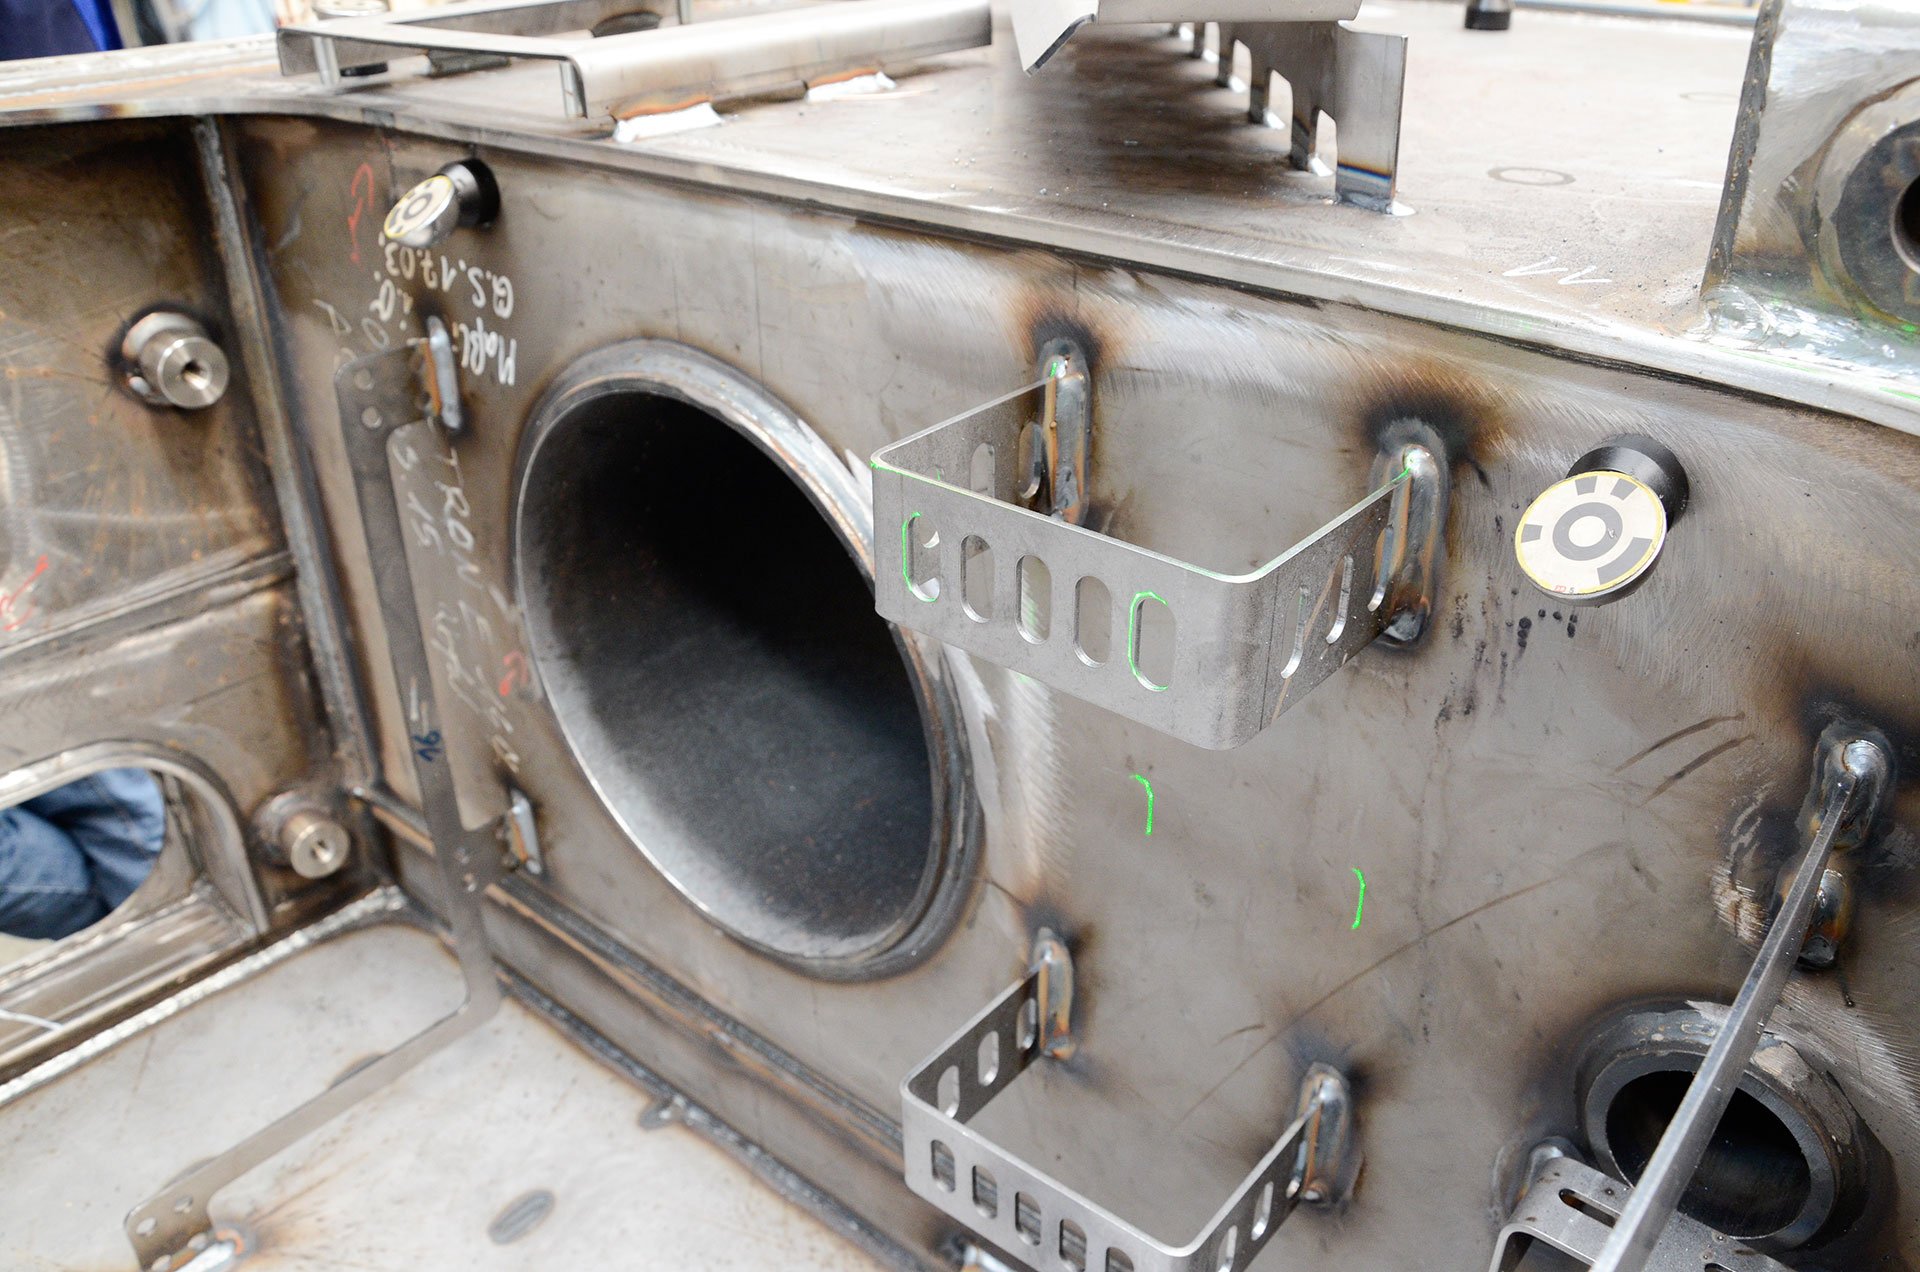
The positions of the studs are projected directly onto the workpiece by means of a laser.
- Flexible with regard to changes
- Precise display and control
- Easy to handle
- Up to 80% faster than previous methods
WERKLICHT is used, among other things, for stud welding in mechanical engineering. WERKLICHT projects the exact positions of the respective studs onto the workpiece or component. After briefly marking out the projected stud position, the stud can then be attached exactly. Using WERKLICHT, you can minimize the time-consuming and costly use of coordinate measuring machines in the future and achieve time savings of up to 75%.
Challenge:
Stud welding. Manual welding of a larger number of studs (number from 100 studs).
What work tools have been used so far?
Templates:
- Highly expensive and costly to manufacture
- No flexibility to changes
- Fast
Coordinate measuring machines:
- High cost and resource intensive (measuring station)
- Cumbersome
- Precise
If WERKLICHT is used, templates and thus their production and storage are completely eliminated. Overall, this shortened process allows changes to the design to be implemented much more quickly.
- Minimal setup time
- Automation through connection to PLC or control technology via network API
- All CAD formats
- Generic import from CSV or similar for integration with third-party systems
- Ready for IOT
- Display of positions, trims, contours directly on the part
- Intuitive operation with remote control or tracked tools
- Positioning/inspection templates become superfluous
- Time savings of up to 75% compared to classic measuring equipment
- High change flexibility
- Productive faster through intuitive visual worker guidance
- Time savings through direct highlighting of elements on the component
- No need for time-consuming localization or counting on the part
- Step-by-step instructions
- Intuitive display of assembly instructions directly on the component
- Intuitive control with remote control or tracked tools
- Automatic documentation of work steps
- PDF report with overview images and detail shots
- Export as CSV, for integration/automation with third-party systems
- Data protection compliant
- Ready for IOT
What are my advantages?
- Cumbersome marking out with column measuring machines or templates is no longer necessary
- Work becomes more intuitive and easier
- Errors are avoided and therefore also negative feedback
- Consistently higher quality
- Versatile, can also be used for other QA applications
- Very low return rate
- Elimination of CMMs, measuring stations and inspection templates results in lean production processes
- Very large time advantage (up to 75%) in bolt setting
- Prototypes enter testing faster and with higher quality
For visualization of measurement data directly on the work piece

What works better and easier with WERKLICHT Video?
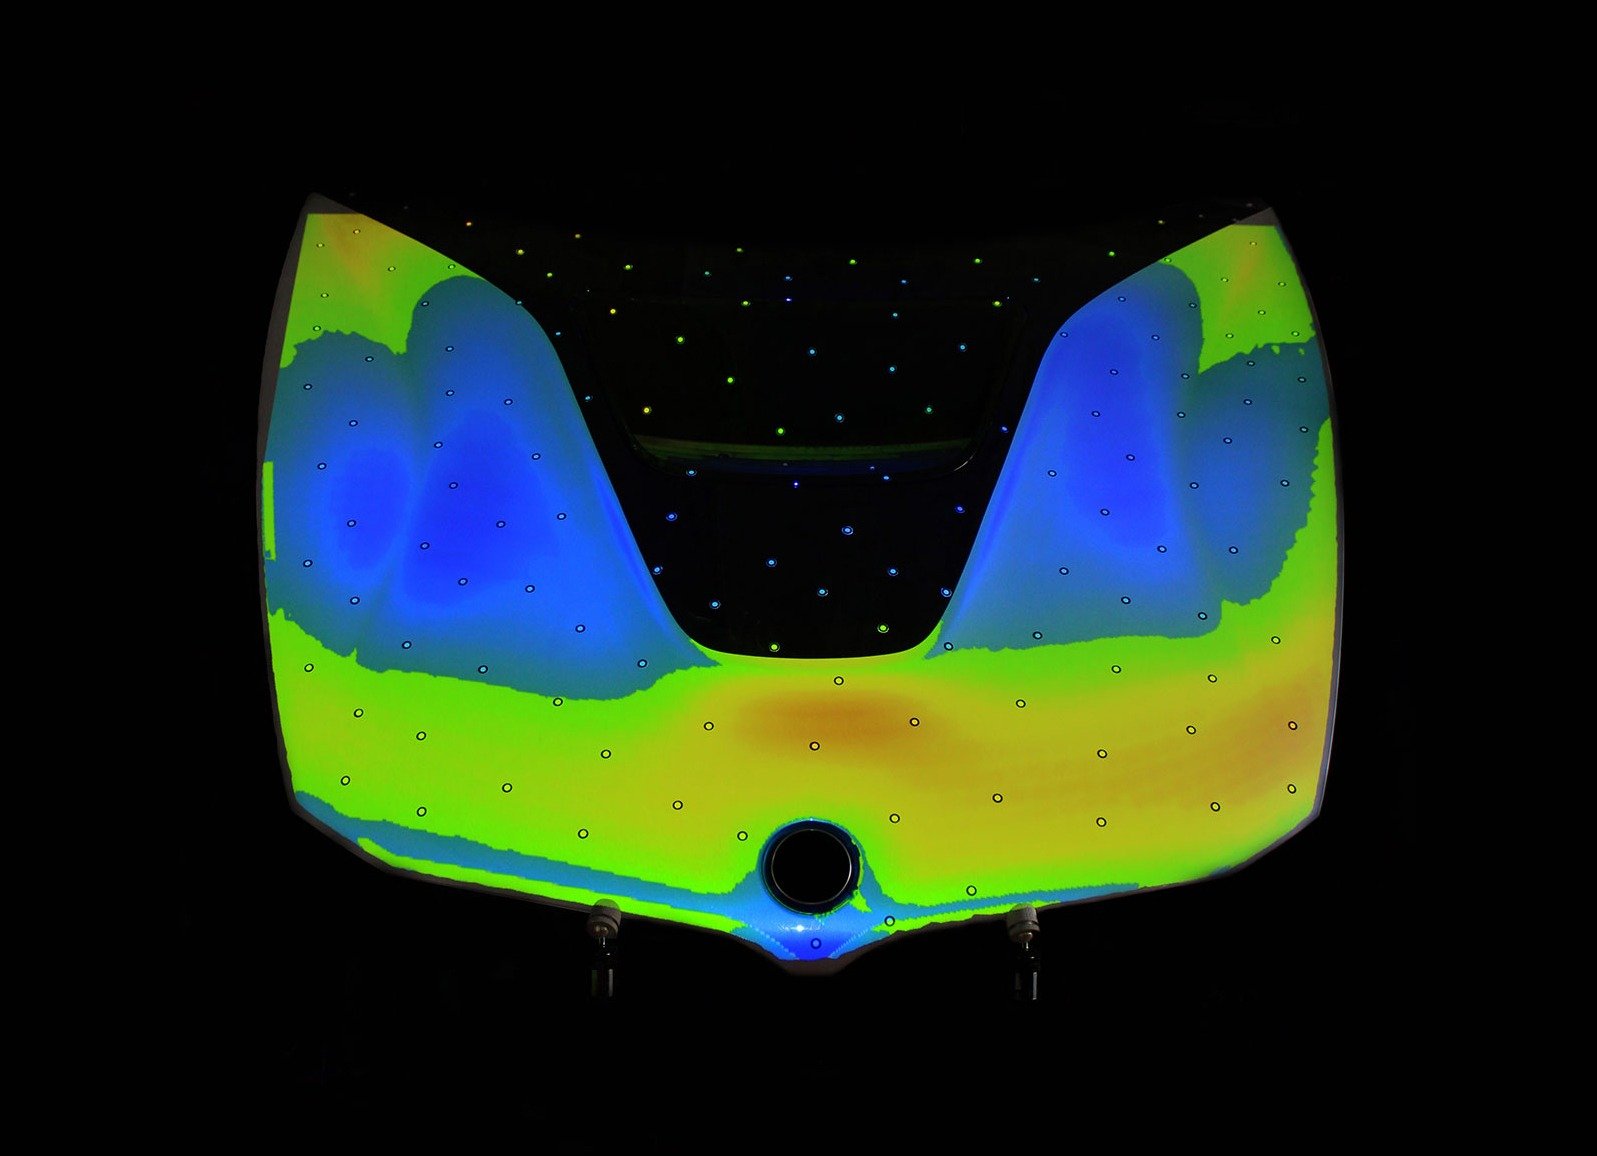
Direct and immediate projection of defect color representations and measured values.
- Simply read in and start the measurement report
- Efficient and accurate communication
- Elimination of time-consuming, manual labeling processes
- Immediate exchange of current data statuses
With WERKLICHT Video, measurement results are projected onto components, either as false colors, deviation maps or in the form of individual point measurement values. The projection itself always remains positionally correct, i.e. it dynamically adapts to the position of the component.
The measurement data of common optical as well as tactile measuring devices are used as a basis for the projection.
What means have been used so far?
False color projection via PDF and Powerpoint:
- Numerous discussions
- Very large effort for professional communication of the results
Drawing of point measurements on component:
- Extremely time consuming
- therefore increased discussions of “old data states”
- Very rigid means
What is the advantage of this form of presentation in particular?
A common understanding of problems can be created among all persons involved in product development. In this case, WERKLICHT Video thus functions as a special means of communication, by means of which far-reaching communication and interpretation gaps between individual departments and management levels can be avoided.
- Minimal setup time
- Automation through connection to PLC or control technology via network API
- All CAD formats
- Generic import from CSV or similar for integration with third-party systems
- Ready for IOT
- Projection of heatmaps, measured values, design lines
- X-ray view for displaying complex technical issues
- Intuitive discussion directly on the component
- Shorter decision cycles
- Elimination of time-consuming manual labeling processes
- Fewer physical mockup
- Automatic documentation of work steps
- PDF report with overview images and detail shots
- Export as CSV, for integration/automation with third-party systems
- Privacy compliant
- Ready for IOT
What are my advantages?
- Deviations become more clearly visible
- More intuitive and easier work
- Simple operation
- Measurement results are understood more quickly
- No room for misinterpretation
- High savings, as fewer errors occur due to better understanding
- Clear and easy to understand view of results
- Reduction of human interpretation errors
- Communicate measurement results faster
- Less time needed for presentation as well as its preparation
