Tuning for your processes in automotive engineering
With WERKLICHT, you rely on a versatile assistant that is used in numerous industrial areas:
- from vision to production
- from quality monitoring to presentation
- Work facilitation, process acceleration
- cost reduction
The basic principle always remains the same: WERKLICHT brings your digital component information from the computer into reality.
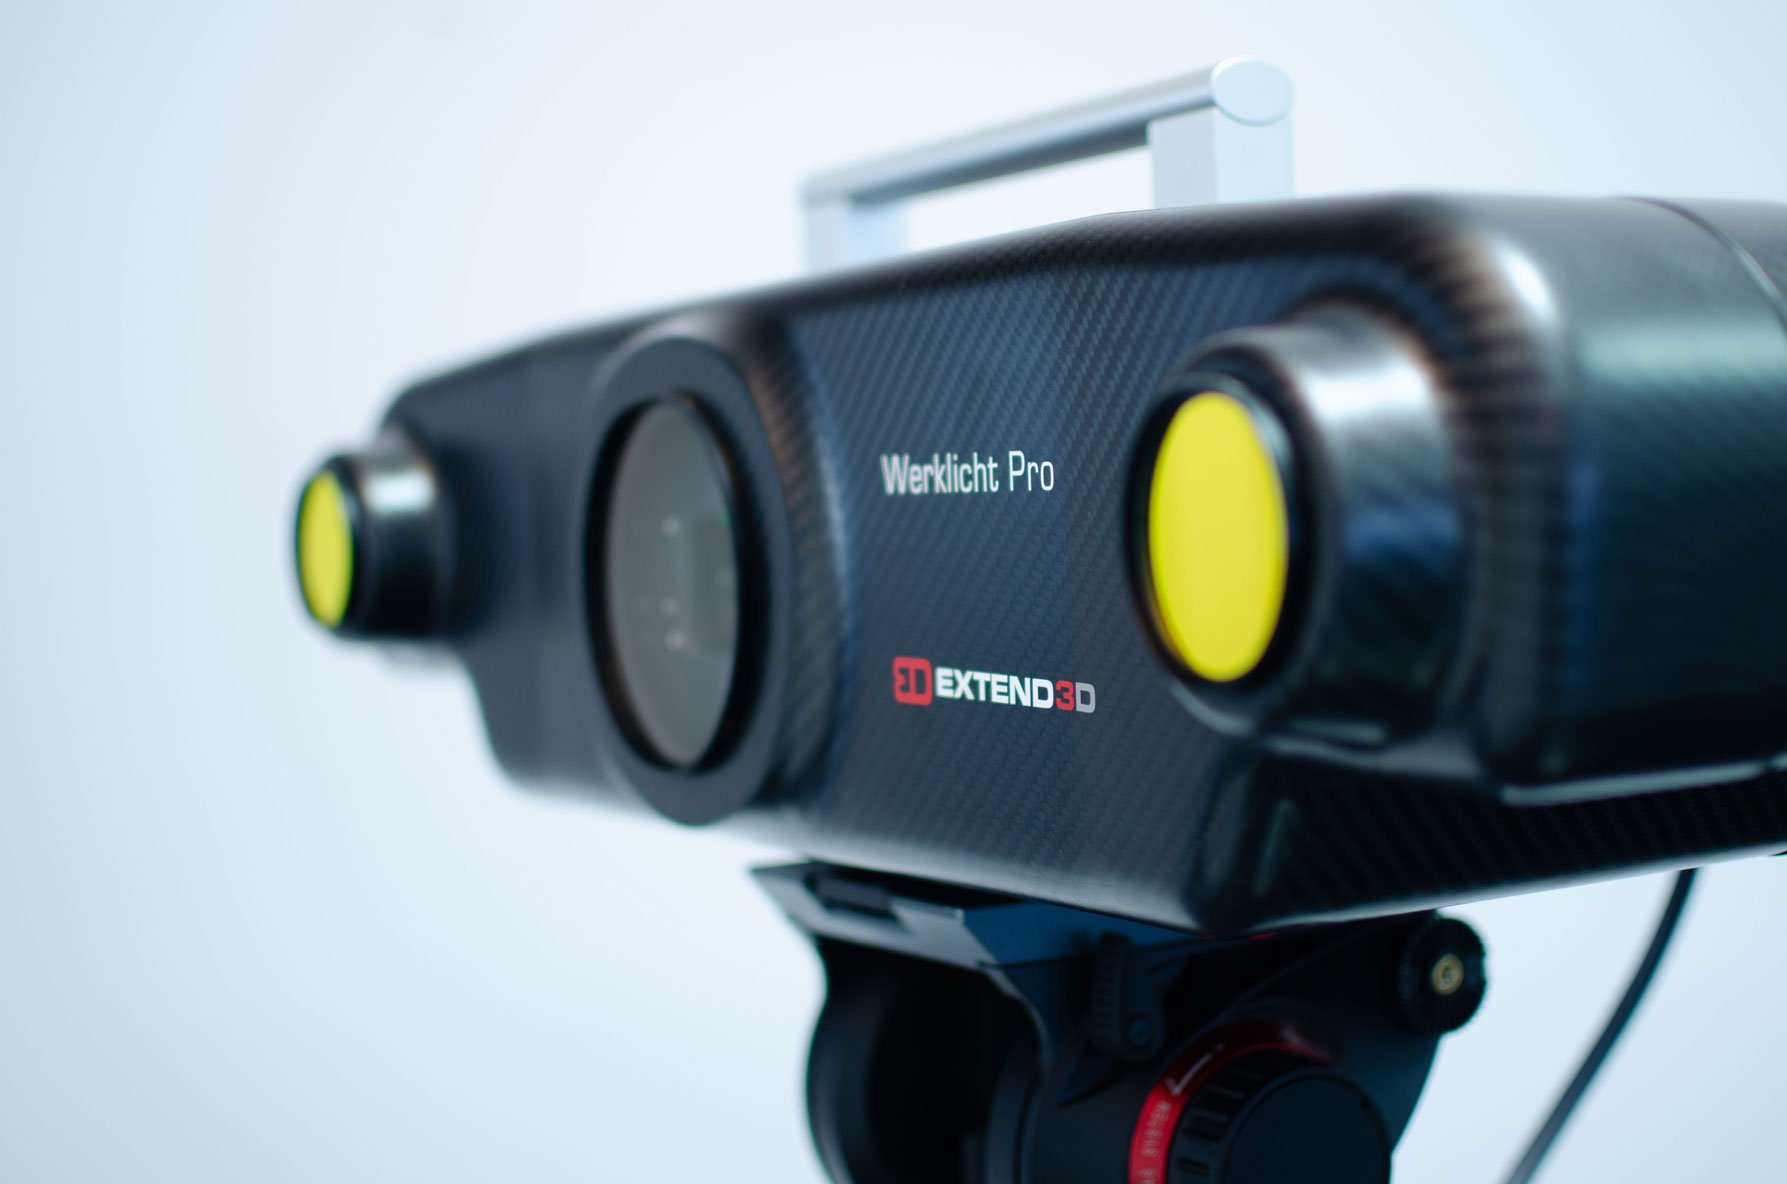
In production and assembly, WERKLICHT Pro projects CAD data and work instructions onto components and thus becomes the right hand of your production staff. In quality assurance, WERKLICHT Video brings even the smallest deviations to light with the projection of 3D measurement protocols. This provides you with a directional and efficient control and communication tool to increase quality and quality awareness.
Prototyping in automotive engineering

What makes WERKLICHT better?
Laser projection of bolt positions directly onto the component.
- Flexible with regard to changes.
- Precise display and control.
- Easy to use. Up to 80% faster than previous methods.
In prototype construction, WERKLICHT is used for stud welding, among other things. WERKLICHT projects the exact position of the individual studs onto the body panel. After briefly marking the projected stud position, the stud can be set. WERKLICHT thus eliminates the time-consuming and costly use of coordinate measuring machines and achieves time savings of up to 75%.
Challenge:
Stud welding
Manual welding of studs (number:100+)
What tools have been used to date?
Templates:
- Expensive and laborious to manufacture
- Inflexible to changes
- Fast
Coordinate measuring machines:
- Expensive and resource intensive (measuring station)
- Slow
- Precise
The use of WERKLICHT also completely eliminates templates and thus their production and storage. Overall, this shortened process allows design changes to be implemented much faster.
- Minimal setup time
- Automation through connection to PLC or control technology via network API
- All CAD formats
- Generic import from CSV or similar for integration with third-party systems
- Ready for IOT
- Display of positions, trims, contours directly on the part
- Intuitive operation with remote control or tracked tools
- Positioning/inspection templates become superfluous
- Time savings of up to 75% compared to classic measuring equipment
- High change flexibility
- Productive faster through intuitive visual worker guidance
- Time savings through direct highlighting of elements on the component
- No need for time-consuming localization or counting on the part
- Step-by-step instructions
- Intuitive display of assembly instructions directly on the component
- Intuitive control with remote control or tracked tools
- Automatic documentation of work steps
- PDF report with overview images and detail shots
- Export as CSV, for integration/automation with third-party systems
- Data protection compliant
- Ready for IOT
What are my advantages?
- No cumbersome marking out with stand measuring machines or templates
- Work becomes more intuitive and easier
- Errors are avoided – negative feedback as well
- Consistently higher quality
- Versatile use, also for other QA applications
- Fewer returns
- Elimination of CMMs, measuring stations and inspection templates leads to lean production processes
- Huge time savings (up to 75%) in stud setting
- Prototypes enter testing faster and with higher quality
First part inspection in automotive engineering

What makes WERKLICHT better?
3D laser projection of all elements to be inspected, such as joining techniques, attachments and joining information directly onto the component.
- Flexible with regard to changes
- Precise display and control
- Easy to handle
- Process-safe due to integrated test sequence
- Up to 80% faster than with previous methods
Whether for production start-up, production adjustments or statistical process control, component sampling plays an important role in production-related quality management.
Challenge:
Target/actual comparison of components that cannot be inspected automatically.
What means have been used so far?
Templates:
- Inflexible to changes
- Expensive and time-consuming to produce
- Simple to use
Coordinate measuring machines:
- Expensive and resource intensive (measuring station)
- Precise
- Slow
Tape measure:
- Prone to errors (completeness/accuracy)
- Easy to use
- Slow
With WERKLICHT Pro it is possible to shorten this inspection process by up to 80%. For this, WERKLICHT projects the target positions of e.g. joining techniques or add-on parts.
- Minimal setup time
- Automation through connection to PLC or control technology via network API
- All CAD formats
- Generic import from CSV or similar for integration with third-party systems
- Ready for IOT
- Display of positions, trims, contours directly on the part
- Intuitive operation with remote control or tracked tools
- Positioning/inspection templates become superfluous
- Time savings of up to 75% compared to classic measuring equipment
- High change flexibility
- Automatic documentation of work steps
- PDF report with overview images and detail images
- Export as CSV, for integration/automation with third-party systems
- Data protection compliant
- Ready for IOT
What are my advantages?
- Elimination of CMMs, measuring stations and test templates leads to lean production processes
- Faster sampling leads to shorter ramp-up
- Shorter product changeover times
- Enormous time advantage in component sampling
- More intuitive and easier testing
- Fewer inspection errors
- Elimination of CMMs, measuring stations and inspection templates leads to lean production processes
- Faster sampling leads to shorter ramp-up
- Shorter product changeover times
Rework in automotive engineering
What makes WERKLICHT better?
The use of 3D laser projection significantly reduces the inspection effort in quality control and at the same time makes a significant contribution to workplace ergonomics.
Particularly in series production with short cycle times, the manual search and post-processing are very challenging for production employees, especially for very large, three-dimensional and not necessarily planar components. This is because the probability that features or areas that need to be reworked remain undetected is correspondingly high, especially with such workpieces.
Thanks to the use of dynamic laser projection, all points relevant to post-processing can be optimally visualized. Model-based tracking is used for this purpose. This continuously compares the geometry known from the CAD model with the image of the component in camera images from the different viewing angles of the laser projectors. Once the part has been “snapped in”, it is continuously tracked so that the marked points can always be displayed in the correct position, regardless of the height or position at which it is moved. The production worker can thus reach the points to be machined in an ergonomically optimal way. In addition, no points can be overlooked.
- Minimal setup time
- Automation through connection to PLC or control technology via network API
- All CAD formats
- Generic import from CSV or similar for integration with third-party systems
- Ready for IOT
- Faster productivity through intuitive visual operator guidance
- Time saving through direct highlighting of elements on the part
- No need for time-consuming localization or counting on the part
- Step-by-step instructions
- Intuitive display of assembly instructions directly on the component
- Intuitive control with remote control or tracked tools
What are my advantages?
- No post-processing-relevant positions are overlooked
- More comfortable workplace
- Shorter search times
- Faster and easier processing
- Optimization of quality
- Optimization of the entire production process
- Enormous time advantage due to reduction of manual interventions by the workers
- Process time reductions
Measurement data visualization on the cubing

What makes WERKLICHT better?
Direct and immediate projection of defect color representations and measured values.
- Simply read in the measurement report and get started
- Sustained and accurate communication
- Elimination of time-consuming, manual labeling processes
- Discussion of current data status
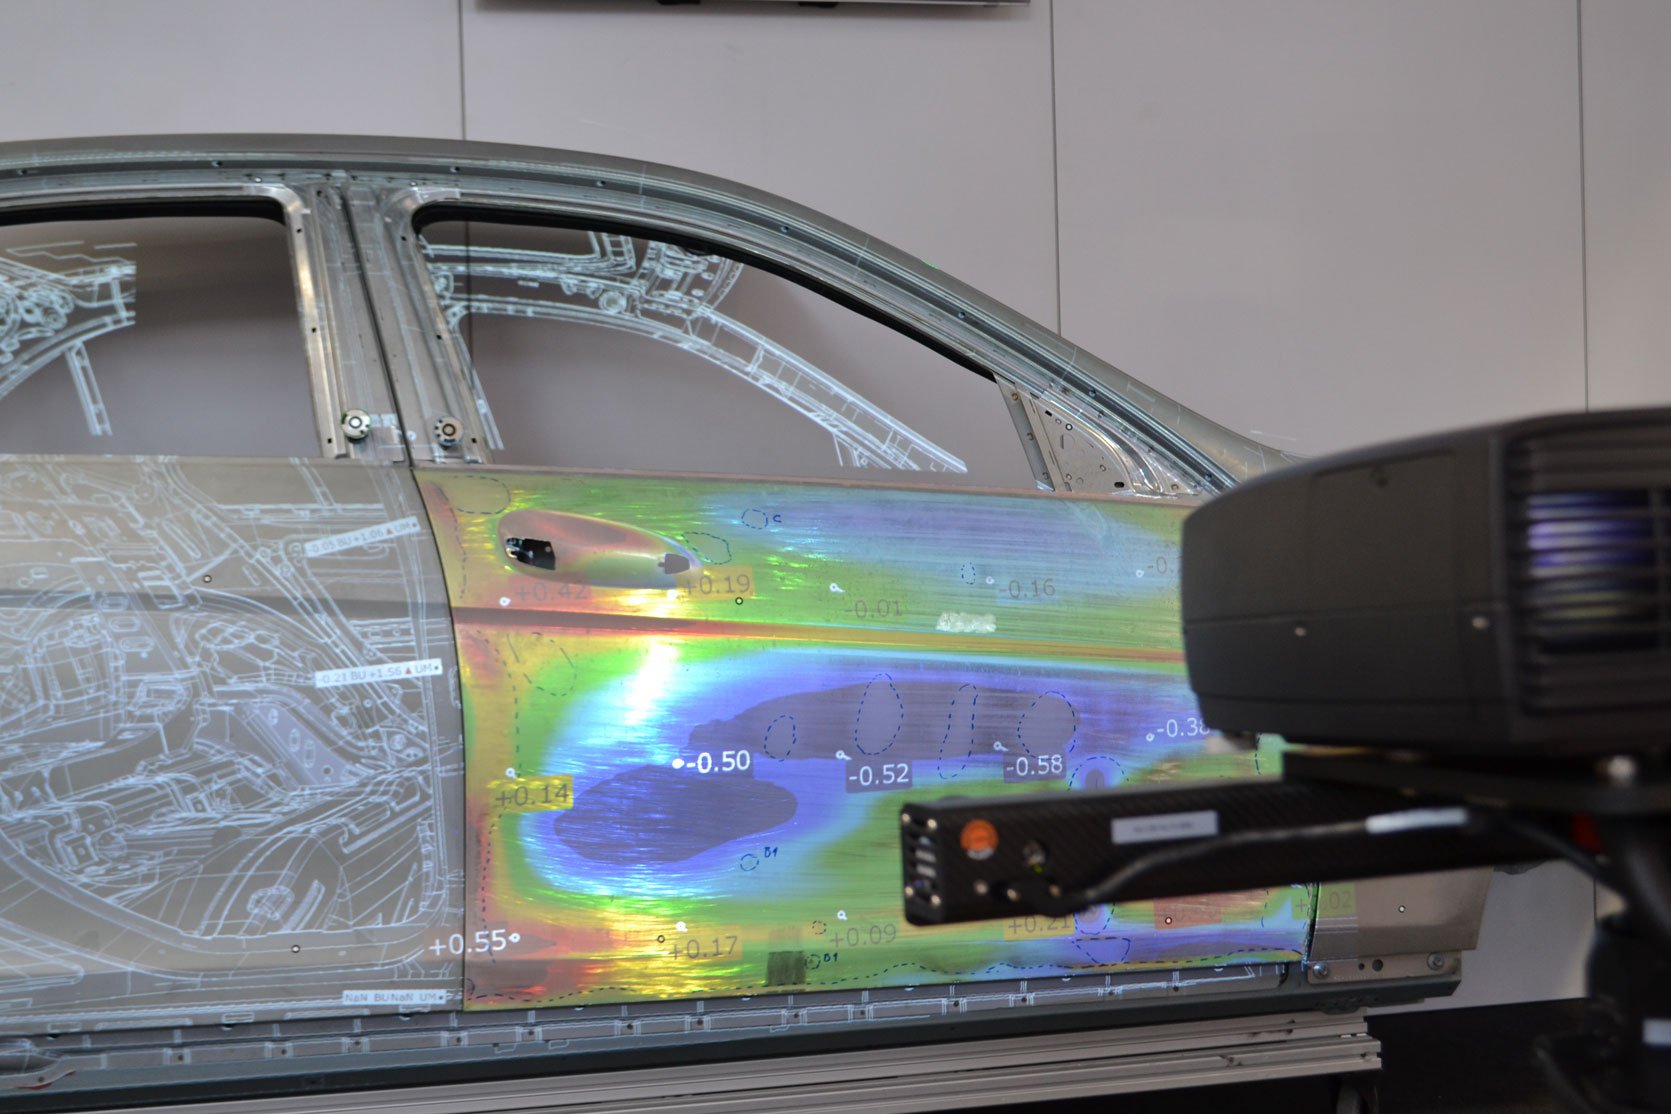
WERKLICHT Video projects measurement results onto components, either in the form of false colors or deviation maps or individual point measurement values. The projection always remains in the correct position and dynamically adapts to the position of the component. The measurement data from conventional optical and tactile measuring devices are used as the basis for the projection.
What means have been used so far?
False color representation via PDF and Powerpoint:
- Many discussions
- High effort for professional communication of the result
Drawing of point measurement values on component:
- Very time consuming
- therefore often discussion of “old data statuses
- Inflexible
The aim of this presentation method is to create a common understanding of problems among those involved in the product development process. This makes WERKLICHT Video a communication tool that avoids serious communication and interpretation gaps between departments and management levels.
- Minimal setup time
- Automation through connection to PLC or control technology via network API
- All CAD formats
- Generic import from CSV or similar for integration with third-party systems
- Ready for IOT
- Projection of heatmaps, measured values, design lines
- X-ray view for displaying complex technical issues
- Intuitive discussion directly on the component
- Shorter decision cycles
- Elimination of time-consuming manual labeling processes
- Fewer physical mockups
What are my advantages?
- Deviations become more clearly visible
- More intuitive and easier work
- Simple operation
- Understand measurement results faster
- No misinterpretations
- High savings, as fewer errors occur due to better understanding
- Clear and easy to understand presentation of results
- Fewer human interpretation errors
- Communicate measurement results faster. Less time spent on presentation and its preparation
